
Watch live streaming from the security cameras fitted oo your home from anywhere in the world. It is possible with the popular tech app named vMEyeCloud, which acts as a mobile surveillance. Also, know how to access vMEyeCloud for PC from the below article.
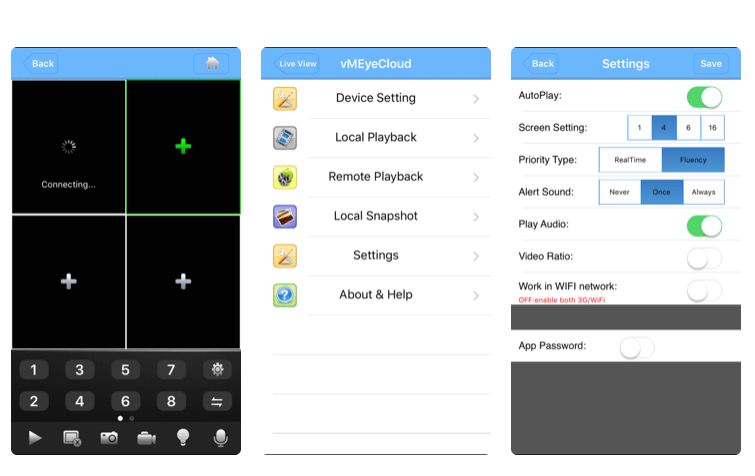
vMEyeCloud is a user-friendly mobile application that enables you to control and monitor the CCTV cameras on your fingertips. It lets you be smart enough with your smartphones. vMEyeCloud is available in the Google play store and Apple App store so that you can use it on both Android and iOS devices.
Features
vMEyeCloud has many splendid features that are listed down.
Smart Technology
It is stuffed with the MEyeCloud technology, which enables easy connection of IP cams with your device. It works over an internet connection.
Two-way talks
It allows you to enjoy video chats with your friends and family with the Two-way Audio factor technology. You can even take screenshots of the live videos.
Detection Alert
One of the excellent factors of this app is Motion Detection. This feature alerts you with an online alarm (email) whenever it detects any abnormal movements.
Store the Data
You can save the live videos and store them in the cloud storage as well as the internal memory of the device. It can stream four-camera screens at a time.
How to install vMEyeCloud for PC (Windows / Mac)
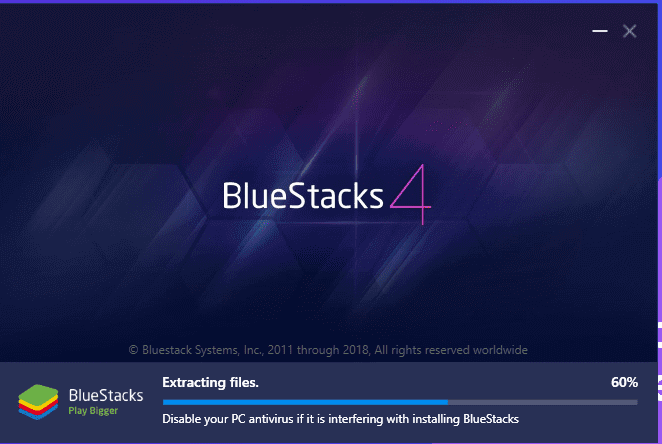
Install BlueStacks on your PC
As vMEyeCloud is not officially available on PC, you can install vMEyeCloud through an emulator like BlueStacks. Observe the below steps to install vMEyeCloud on Windows and Mac PC.
Step 1: Turn on your PC and open the Chrome Browser.
Step 2: Provide the BlueStacks URL (https://www.bluestacks.com/) in the search bar and press ‘Enter’.
Step 3: Open the BlueStacks website.
Step 4: Click the ‘Download BlueStacks’ button to download the app player.
Step 5: Wait for the download to complete and install the downloaded file.
Step 6: Now, BlueStacks will open automatically after installation.
Install vMEyeCloud on PC using BlueStacks
Now, install the vMEyeCloud app on BlueStacks with the simple steps mentioned below.
Step 1: Open the Bluestacks app player and launch the Play store app from the app library.
Step 2: Complete the sign-in process by providing the required details.
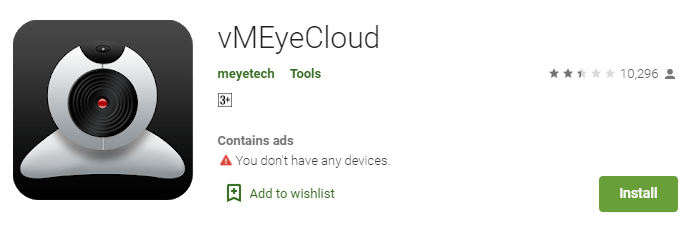
Step 3: Type vMEyeCloud in the search bar and select the same from the search list.
Step 4: Click Install and wait for the vMEyeCloud app to get installed on your Mac or Windows PC.
How to use vMEyeCloud on PC?
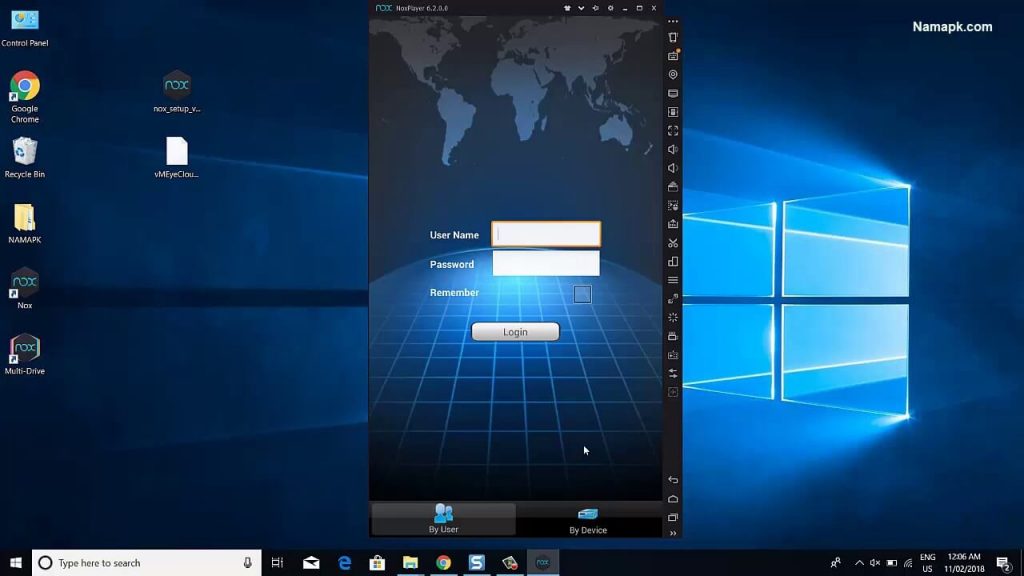
Step 1: Open the installed vMEyeCloud app on your PC.
Step 2: Finish the login process by entering the username and password.
Step 3: Enter the required security device (CCTV cam) details to the app.
Step 4: Configure your security cams on vMEyeCloud.
Step 5: Now, you can watch the live streams from your PC or Laptop.
Related: iCSee for PC: Windows 10, 8, 7 / Mac Free Download
FAQs
Does this app need any internet service?
Certainly yes. vMEyeCloud needs an internet connection to work properly. You can connect it with Wifi or a mobile network.
Is the vMEyeCloud app applicable to the iPhone?
vMEyeCloud app is not available for iPhone and other iOS devices. As it is not available on the App Store.
Whether we can save videos of the IP camera?
Yes, you can save the live streaming videos and also store them on your devices.
Hereafter, you don’t need to worry about your home security. You can install the vMEyeCloud app on PC for the best surveillances from smaller to larger screens. Try the app without any choices.